The magic ring, also known as the adjustable ring or magic circle, is a fundamental technique in crochet that allows you to create a tight, seamless center for your projects. It’s the perfect starting point for amigurumi, granny squares, hats, and countless other crochet creations.
Mastering the magic ring can feel like unlocking a secret crochet superpower, especially if you’re just beginning your crochet journey. But fear not! This comprehensive guide will walk you through each step, providing clear instructions, helpful tips, and visual aids to make learning the magic ring a breeze.
Why Learn the Magic Ring?
Before we dive into the how-to, let’s talk about why the magic ring is such a game-changer in the crochet world:
- Seamless Center: Unlike traditional starting chains, the magic ring tightens completely, leaving no hole in the middle of your work. This is especially crucial for amigurumi, where you don’t want stuffing peeking through.
- Versatility: From tiny amigurumi eyes to the center of a large granny square, the magic ring is adaptable to various projects and yarn weights.
- Neat and Tidy Finish: A magic ring gives your crochet projects a polished and professional look, enhancing their overall appeal.
Ready to unlock the magic? Let’s get started!
Step-by-Step Guide to Creating a Magic Ring
Follow these simple steps to master the art of the magic ring crochet:
Step 1: Making the Loop
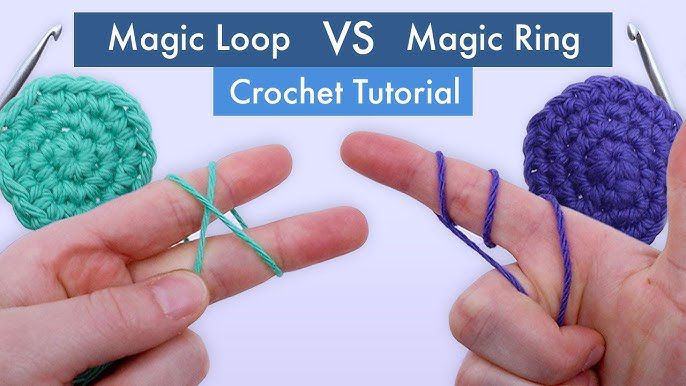
- Hold your yarn tail in your non-dominant hand, with the working yarn draped over your index finger.
- Bring the working yarn under and over your index finger, creating a loop.
- Cross the working yarn over the tail end, forming an “X” where the yarns intersect.
 Creating the Initial Loop for Magic Ring Crochet
Step 2: Inserting the Hook
- Hold the loop steady with your thumb and middle finger.
- Insert your crochet hook from front to back under the front loop of the “X.”
- Catch the working yarn with your hook.
Step 3: Forming the First Stitch
- Yarn over with your hook and pull the yarn through the loop on your finger. This creates a slip knot on your hook.
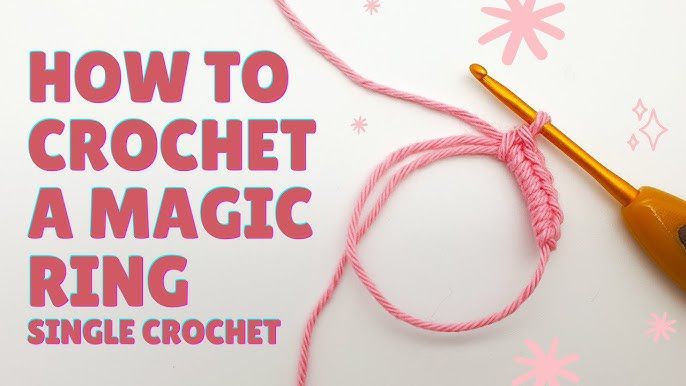
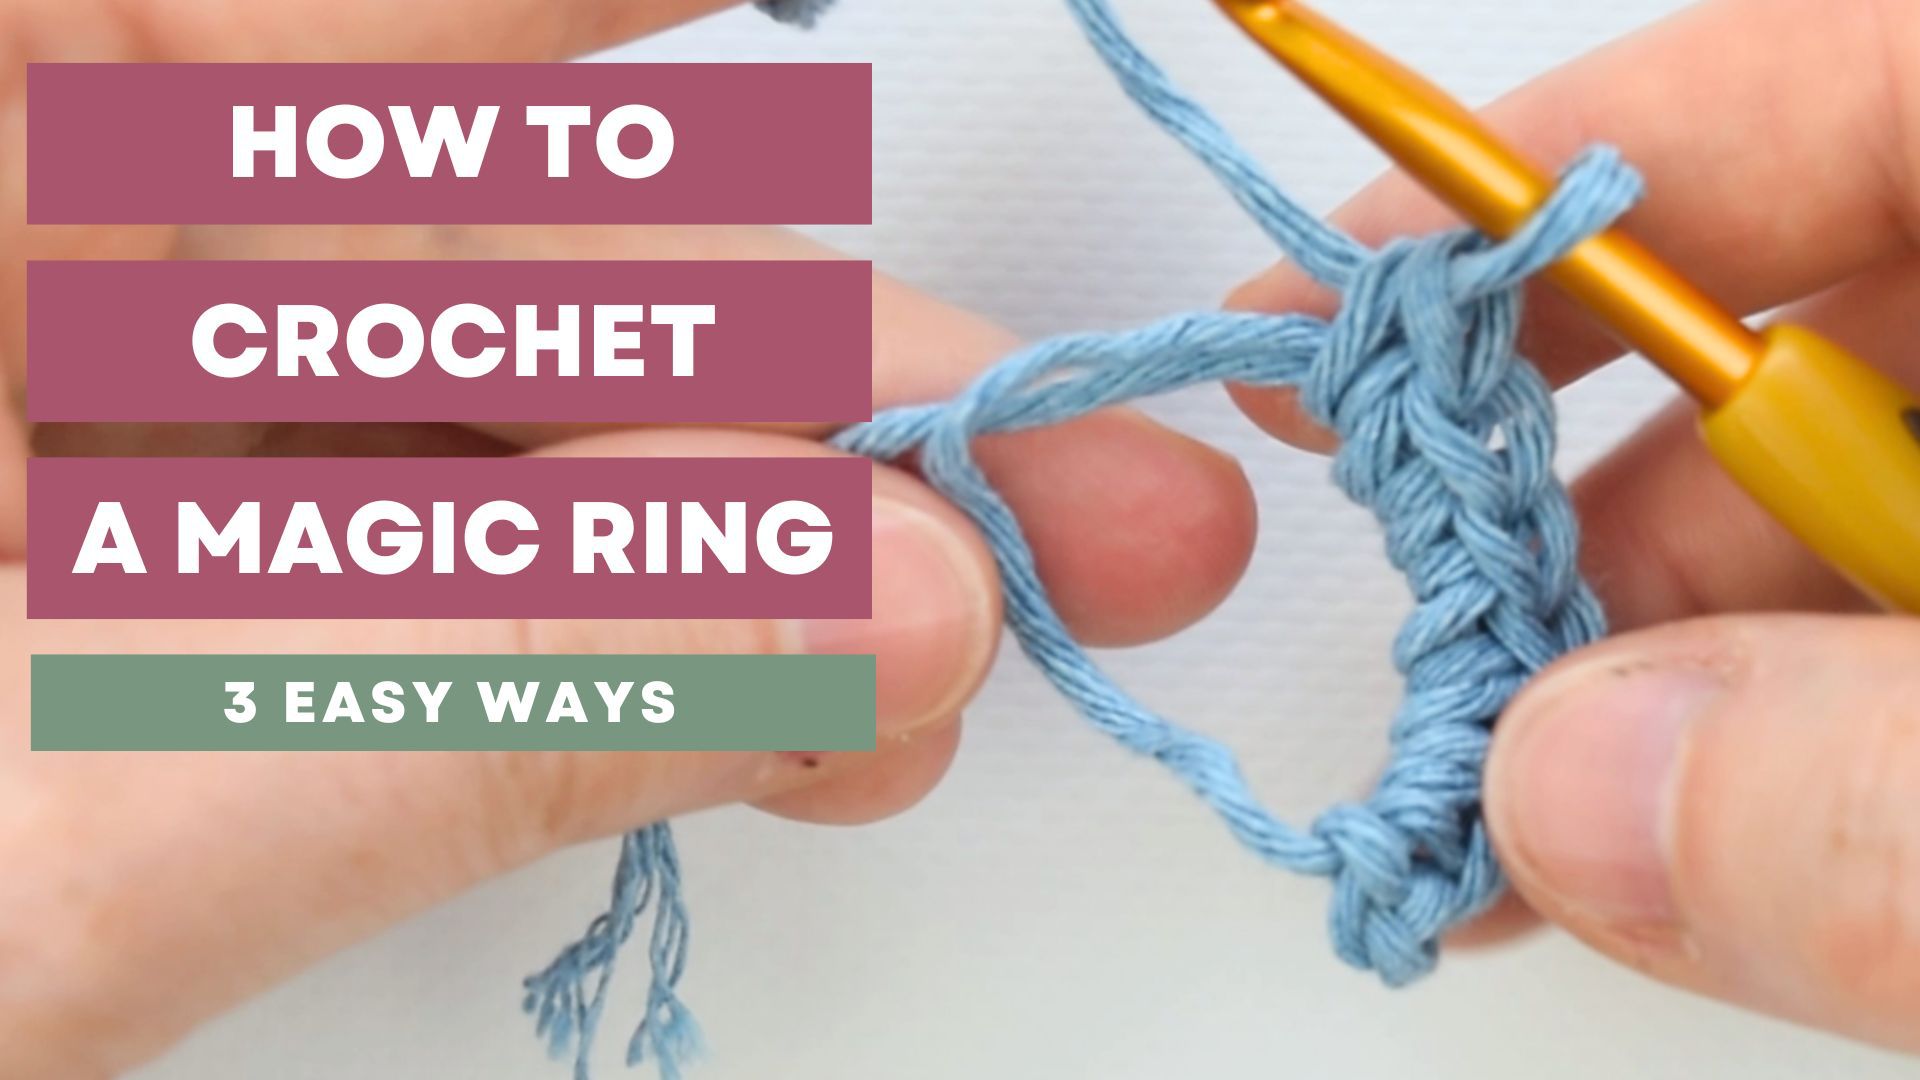
- Yarn over again and pull through both loops on your hook. This completes the first single crochet (sc) stitch.
 Working the First Single Crochet Stitch in a Magic Ring
Step 4: Working Stitches into the Ring
- Continue working the desired number of stitches into the ring, using the loop on your finger as the base.
- For amigurumi, you’ll often work 6 sc into the ring. However, the pattern will specify the required number of stitches.
Step 5: Closing the Ring
- Once you’ve worked the required stitches, gently pull the tail end to tighten the ring completely.
- The stitches will gather around the center, creating a seamless start to your project.
 Tightening the Magic Ring for a Seamless Center
Tips for Magic Ring Success
Here are a few bonus tips to help you master the magic ring:
- Practice Makes Perfect: Don’t be discouraged if your first few attempts aren’t perfect. Like any crochet technique, practice makes perfect.
- Start with Bulky Yarn: Using bulky yarn can make it easier to see the stitches and manipulate the ring when you’re first learning.
- Watch Video Tutorials: Visual learners may benefit from watching video tutorials demonstrating the magic ring technique.
- Don’t Over-Tighten: While you want the ring to be snug, avoid over-tightening, which can make it difficult to work the following rounds.
Frequently Asked Questions about Magic Ring Crochet
Q: What’s the difference between a magic ring and a starting chain?
A: While both methods are used to begin crochet projects, the magic ring creates a seamless center, whereas a starting chain leaves a small hole.
Q: Can I use the magic ring with any yarn weight?
A: Yes, the magic ring technique works with various yarn weights.
Q: What if my magic ring is too loose?
A: Try pulling the tail end tighter after completing the first round of stitches. If it’s still too loose, you can start over and tighten the ring more initially.
Conclusion
The magic ring is a valuable technique that opens up a world of possibilities in crochet. By following this step-by-step guide and practicing regularly, you’ll be creating beautiful, seamless projects in no time. Remember, patience and persistence are key! Now that you’re equipped with the knowledge of the magic ring, grab your hook and yarn, and start creating something magical. And if you’re ready to tackle a new project, check out our guide on How to Crochet a Granny Square.


