Crocheting a granny square is a rite of passage for anyone picking up a crochet hook. These versatile squares are the building blocks for countless projects, from cozy blankets and colorful scarves to stylish bags and even clothing items. The best part? They’re incredibly easy to learn, even if you’re a complete beginner.
This comprehensive guide will walk you through everything you need to know about How To Crochet A Granny Square, from understanding the basic stitches to mastering different variations. So grab your yarn and your crochet hook, and let’s get started!
What is a Granny Square?
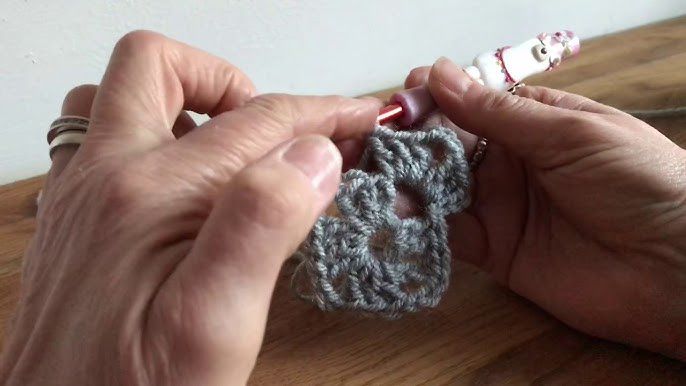
A granny square is a type of crochet motif that’s typically square-shaped (though they can also be made in other shapes!) and worked in rounds. They’re constructed by working clusters of stitches into a central ring or space, with each round creating a new layer that builds upon the previous one.
Granny squares are known for their characteristic lacy and textured appearance, which comes from the combination of basic crochet stitches like double crochets and chain stitches.
Materials You’ll Need
Before we dive into the step-by-step instructions, let’s gather our materials:
- Yarn: You can use any type of yarn you like for granny squares, but worsted weight yarn is a great choice for beginners as it’s easy to work with.
- Crochet Hook: Choose a hook size that’s appropriate for your yarn weight. The yarn label will usually recommend a hook size, but you can also experiment to find what works best for you.
- Scissors: For snipping your yarn at the end.
- Yarn Needle: Useful for weaving in any loose ends.
Basic Crochet Stitches You’ll Need to Know
Don’t worry if you’re new to crochet – granny squares only require a couple of basic stitches:
- Chain Stitch (ch): This is the foundation of most crochet projects.
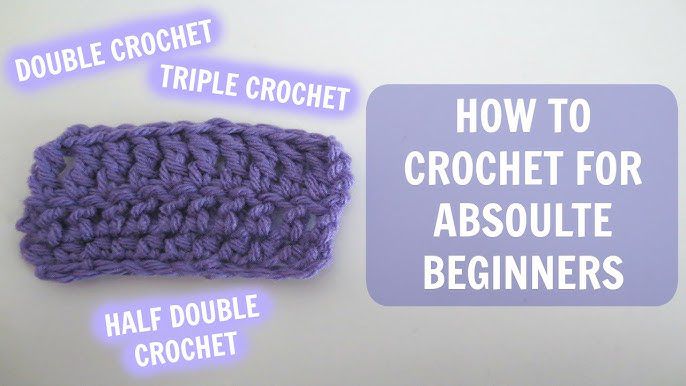
- Double Crochet (dc): This stitch creates the height and texture of the granny square.
We’ll go over how to work these stitches in detail in the step-by-step instructions below.

How to Crochet a Classic Granny Square: A Step-by-Step Tutorial
Now that we’ve covered the basics, let’s learn how to crochet a classic granny square.
Step 1: Make a Magic Ring
The magic ring (also known as a magic circle) creates a neat and adjustable center for your granny square.
- Wrap the yarn around your finger, leaving a tail.
- Insert your hook under the loop on your finger, yarn over, and pull up a loop.
- Chain (ch) 3 (this counts as your first double crochet).
- Work 2 more double crochet (dc) into the ring.
- Chain 2, work 3 double crochet into the ring. Repeat from to two more times.
- Chain 2 and slip stitch into the top of the beginning chain-3 to close the round.
You’ve now completed the first round of your granny square!
Step 2: Building the Second Round
- Chain 3 (this counts as your first double crochet).
- Work 2 more double crochet into the same chain-2 space from the previous round.
- Chain 2, work 3 double crochet into the next chain-2 space. Repeat from to around the entire square.
- Chain 2 and slip stitch into the top of the beginning chain-3 to close the round.
You’ll notice your granny square starting to take shape!

Step 3: Continuing the Pattern
Continue working rounds in the same manner as Step 2, always remembering to:
- Work 3 double crochets into each chain-2 corner space.
- Work 3 double crochets, separated by a chain-2, into each side of the square.
- Slip stitch to the top of the beginning chain-3 to close each round.
Step 4: Finishing Your Granny Square
Once you’ve reached your desired size, fasten off your yarn. Weave in any loose ends using your yarn needle.
Variations on the Classic Granny Square
Once you’ve mastered the classic granny square, you can experiment with endless variations:
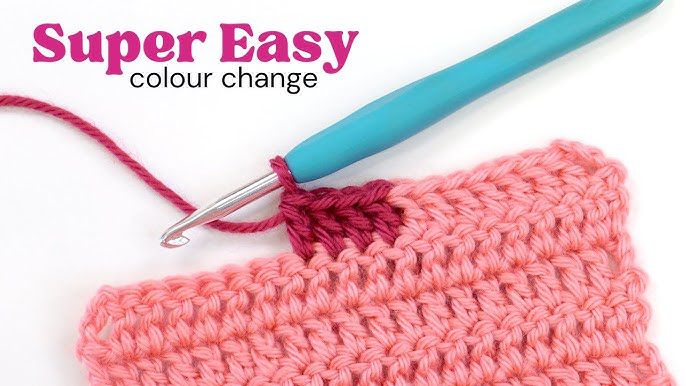
- Different Colors: Change colors every round or even every few stitches to create stripes, gradients, or other colorful patterns.
- Unique Stitches: Try incorporating different crochet stitches, like treble crochets or puff stitches, for added texture and visual interest.
- Creative Shapes: Granny squares don’t have to be square! You can adapt the basic pattern to create hexagons, circles, triangles, and more.

Frequently Asked Questions about Crocheting Granny Squares
Q: My granny square is curling up. What am I doing wrong?
A: This is a common issue for beginners. It’s often caused by crocheting too tightly. Try using a larger hook size or relaxing your tension.
Q: Can I use different yarn weights for granny squares?
A: Yes, but keep in mind that using different yarn weights will result in different sized squares.
Q: What can I make with granny squares?
A: The possibilities are endless! You can use granny squares to make blankets, scarves, bags, pillows, and so much more.
Conclusion
Crocheting a granny square is a fun and rewarding project for crocheters of all levels. With its simple yet versatile design, the granny square offers endless possibilities for creativity and customization.
So gather your materials, practice the basic stitches, and don’t be afraid to experiment with colors, textures, and designs. You’ll be amazed at what you can create with this timeless crochet classic!


